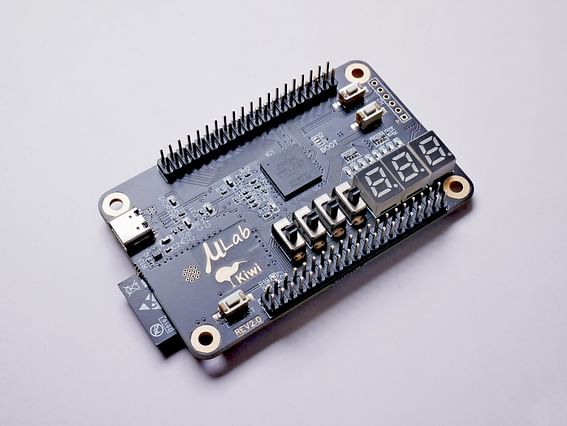
ESP32 Google Assistant Without IFTTT - A Step-by-Step Guide
If you are looking for a way to integrate your home automation devices with Google Assistant but without using IFTTT, then you have come to the right place. In this post, we will show you how to use the ESP32 microcontroller to control your smart home gadgets with Google Assistant's voice commands. Let's start with a brief introduction of each technology.
What is ESP32?
ESP32 is a powerful and versatile microcontroller board that can be programmed to perform various tasks. It has built-in Wi-Fi and Bluetooth capabilities, making it an ideal choice for IoT (Internet of Things) projects. ESP32 comes with two cores, a clock frequency of up to 240 MHz, and a variety of input/output interfaces.
What is Google Assistant?
Google Assistant is a virtual assistant developed by Google that can be used to control smart home devices, set reminders, ask questions, and do much more. Google Assistant can be used with various devices such as smartphones, smart speakers, and smart displays.
Why do we need IFTTT?
IFTTT (If This Then That) is a web-based service that allows users to connect multiple devices and services together through simple conditional statements called applets. For example, you can create an applet that turns on your smart bulb when you arrive at home. However, IFTTT has some limitations such as delays and device compatibility issues.
How to Control Home Automation Devices with ESP32 and Google Assistant?
To control your smart home devices with ESP32 and Google Assistant, you need to follow the steps below:
Step 1: Setting up ESP32
First, you need to set up ESP32 by installing the necessary software. You can follow the instructions provided by the manufacturer or use the Arduino IDE to program the board. Once the board is connected to your local Wi-Fi network, it can receive and respond to HTTP requests.
Step 2: Creating Actions on Google Console
Next, you need to create a project on the Actions on Google Console and enable the Home Graph API. This will allow you to control your devices with Google Assistant and receive voice commands. You can follow the detailed instructions provided by Google to set up your project.
Step 3: Creating Webhooks
After setting up both ESP32 and Google Assistant, you need to create webhooks that can listen to HTTP requests and perform certain actions. You can use platforms such as Node-RED or AWS Lambda to create these webhooks. In this example, we will use Node-RED.
Step 4: Writing the Code
Finally, you need to write the code that connects ESP32 to the webhooks and allows it to perform actions based on the voice commands received from Google Assistant. You can use the sample code provided by Google and modify it according to your requirements.
Conclusion
With this easy and detailed guide, you can now control your home automation devices with Google Assistant and ESP32 without using IFTTT. ESP32 provides a powerful and flexible platform to integrate your devices with Google Assistant, and you can avoid the limitations of IFTTT. Try it now and enhance your smart home experience.
Posted on: Mar 22, 2023 Last updated at: May 4, 2023