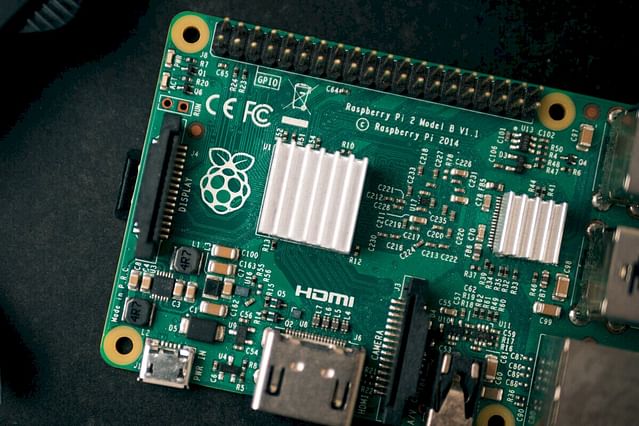
How to set a static IP address on a Raspberry Pi
Raspberry Pi's are transforming how we interact with technology, making it more accessible and versatile than ever. Whether you've dabbled with setting up a service on your Raspberry Pi or planning to, you probably know the importance of having a consistent IP address to maintain smooth sailing. It's no secret that IP addresses on Raspberry Pi's will reset after every reboot - and that can spell trouble for your services as it renders them unreachable. Sounds like a scenario you'd rather avoid, right? Well, that's where a static IP address comes in handy.
In this post, I'll walk you through the simple steps of setting a static IP address for your Raspberry Pi. But first, let's dive in a bit deeper to understand what a static IP address is and why there isn't a one-size-fits-all approach to achieving it.
What is a static IP address?
In the simplest terms, a static IP address ensures your devices maintain a constant IP address on your Local Area Network (LAN) - yes, even after rebooting. This comes with an array of benefits. From knowing exactly what services run on what IP address to allowing you to set up intricate systems with different devices.
What are some ways to set a static IP address?
Styles may be different, but the end goal is the same. There are several routes to set a static IP address, and each achieves the same result. One simple approach is to allocate an IP address to your device directly from your router. This method is usually the easiest and most reliable because it eliminates potential IP conflicts. The router takes on the role of allocating IP addresses which means no duplicates.
But let's look at an alternative method. We'll be assigning a static IP address to the device itself. Here's a simple analogy to understand it better. Instead of the router saying, "Hey, you're 192.168.1.10!" the device says, "Can I be 192.168.1.10?". While straight-forward, this method has the potential for IP conflicts, especially with a lot of devices needing management through the router. Don't worry, though! This is a relatively rare occurrence for home networks and is more commonly seen in larger spaces with multiple devices, like offices.
Setting a static IP address in your Raspberry Pi
Armed with an understanding, it's time we dive in. Begin by switching on your Raspberry Pi and opening a terminal. You can achieve this through the device itself or SSH, but I'd recommend doing it directly through the device for more straightforward navigation.
Now, open the configuration:
nano /etc/dhcpcd.conf
Scroll to the bottom of the file and insert these lines:
interface wlan0
static ip_address=192.168.1.10/24
static routers=192.168.0.1
static domain_name_servers=192.168.0.1
Let's break it down:
- interface wlan0 - This is for the Wi-Fi connection. For a wired connection, switch wlan0 with eth0.
- static ip_address=192.168.1.10/24 - This sets the static IP to 192.168.1.10. Feel free to customize this to any IP address you prefer.
- static routers=192.168.0.1 - This should be the IP address of your router. Be mindful as this may vary, so double-check if necessary.
- static domain_name_servers=192.168.0.1 - Set the name_server to your router as well. This ensures your Raspberry Pi allows the router to resolve any potential network issues.
With these steps done, save the file and use the final command to activate the changes:
sudo systemctl restart dhcpcd
Consequently, this refreshes the network service and requests your static IP. If you face any network connection issues within about 10-20 seconds, there may be an IP conflict. Don't sweat it. Just repeat the steps and choose a different static IP address.
A crucial note for those using SSH is that once you run the last command, you'll be logged out. Why? The device's temporary disconnection from the network. After a brief period (10-20 seconds), you can log back in using your new static IP.
Conclusion
Setting a static IP address for your Raspberry Pi is as easy as 1-2-3 and has a multitude of benefits. Prime among them is optimizing your network by making it easier to locate your services. Not to mention, you'll be able to access any established services on the same IP address, despite restarting your Raspberry Pi.
Have any questions, hitches, or ingenious solutions on this topic? Feel free to reach out to me on Twitter. I'd love to hear your thoughts!
Posted on: Jan 26, 2022 Last updated at: Jan 7, 2024