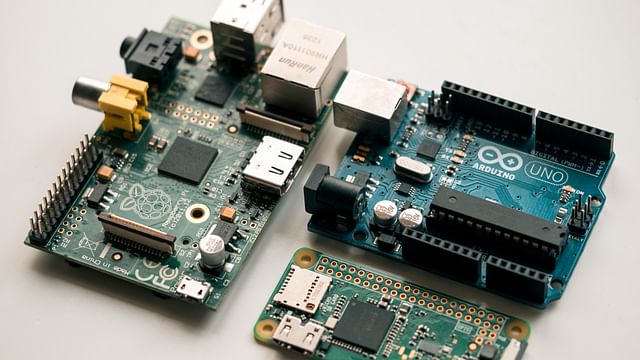
Raspberry Pi Home Automation: How to Build Your Own Smart Home System
Are you tired of constantly running around your house to turn off lights, adjust the thermostat, or check if your doors are locked? Say no more! With the help of a Raspberry Pi, you can create your very own home automation system and turn your home into a smart home.
What is Raspberry Pi and Home Automation?
Raspberry Pi is a small, affordable computer that can be used for various projects, including home automation. Home automation is the process of automating household tasks by electronically controlling the devices used in everyday life. By using a Raspberry Pi, you can easily automate and control your home devices with just a few clicks.
Why should you use Raspberry Pi for Home Automation?
First, Raspberry Pi is incredibly affordable. You can purchase it for a reasonable price and use it to automate your home devices. It's also very compact, which makes it perfect for attaching it to small devices around the house without taking up too much space.
Second, it's easy to set up and use. Even if you're not a tech-savvy person, you can follow the simple instructions and tutorials available online to learn how to use it. With a little bit of research and tinkering, you can create a smart home that suits your needs and desires.
How to Build a Home Automation System Using Raspberry Pi
Here are the steps to building your own home automation system with Raspberry Pi.
Step 1: Assemble your Raspberry Pi
You'll need to assemble your Raspberry Pi and connect it to the internet. You can install a Raspberry Pi operating system like Raspbian on it, which is based on Debian and optimized for the Raspberry Pi's hardware.
Step 2: Set up the Home Automation Software
There are various software applications and programming languages that you can use to automate your home devices. Some of the most popular options include Node-RED, Python, and Home Assistant. You can choose according to your comfort level with coding and the features that you want to implement in your system.
Step 3: Connect the Devices
After setting up the software, you'll need to connect your Raspberry Pi to the devices you want to automate. Devices that can be automated using Raspberry Pi include smart bulbs, thermostats, motion sensors, security cameras, and more. You can also use additional hardware components like a breadboard, sensors, relays, and jumper wires to connect the devices to the Raspberry Pi.
Step 4: Create Automation Rules
Once you've connected the devices, you'll need to create automation rules using the software. These rules dictate how the devices react to different events and conditions. For example, you can set up rules to turn off the lights when you leave the room or to increase the thermostat temperature when the temperature outside drops.
Step 5: Test and Adjust
After creating the automation rules, you'll need to test and adjust them to ensure that they work correctly. You can use the software interface to see the status of your devices in real-time and make changes to the rules as needed.
Conclusion
By using a Raspberry Pi, you can create your own home automation system and enjoy the benefits of a smart home. From controlling your home devices with ease to saving energy and money, home automation has endless possibilities. So what are you waiting for? Get started with your Raspberry Pi home automation project today!
Posted on: Apr 13, 2023 Last updated at: May 4, 2023