Building a Smart Home with Raspberry Pi Zero
Building a Smart Home with Raspberry Pi Zero
Home automation is becoming increasingly popular, and with good reason. It can increase the efficiency and security of a home while also making it more comfortable. One of the most cost-effective ways to automate your home is by using a Raspberry Pi Zero. In this article, we will take a deep dive into how to build a smart home using a Raspberry Pi Zero.
What is Raspberry Pi Zero?
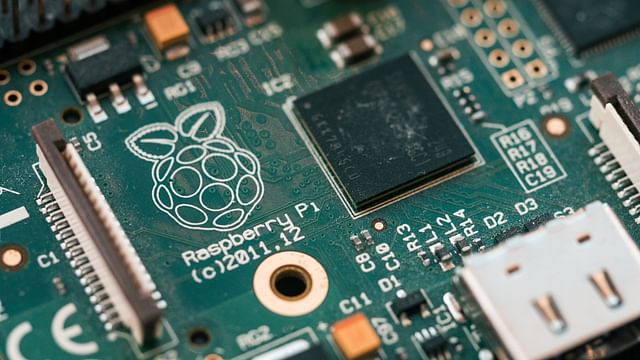
Raspberry Pi Zero is a tiny computer that is affordable and easy to use. It is one of the smallest computers available in the market and is perfect for DIY projects. The Raspberry Pi Zero has a 1 GHz ARM1176JZF-S processor, 512 MB SDRAM, a microSD card slot, a mini-HDMI port for video output, 2 micro-USB ports (one for power and the other for data), and a 40-pin GPIO header.
Why Use Raspberry Pi Zero for Smart Home Automation?
Raspberry Pi Zero can be used to control smart home devices, sensors, and cameras through the GPIO pins. This small computer can act as a bridge between smart devices and your home network. By using Raspberry Pi Zero, you can create a centralized system that connects all your home automation devices, making it easier to set up, control, and monitor your smart home.
How to Build a Smart Home Using Raspberry Pi Zero
Step 1: Install the Operating System
First, you will need to install an operating system on your Raspberry Pi Zero. There are many operating systems available for Raspberry Pi, including Raspbian and Ubuntu. You can install the operating system of your choice by following the instructions on the Raspberry Pi website.
Step 2: Connect Your Raspberry Pi Zero to the Network
Once you have installed the operating system, you will need to connect your Raspberry Pi Zero to the network. You can do this by connecting it to a router using an Ethernet cable or by using a Wi-Fi dongle.
Step 3: Install Home Automation Software
Next, you will need to install home automation software on your Raspberry Pi Zero. There are many options available, including Home Assistant, OpenHAB, and Node-RED. You can install the software of your choice by following the instructions on the respective website.
Step 4: Connect Smart Home Devices
Once you have installed home automation software, you can start connecting your smart home devices. You can connect devices like smart plugs, smart bulbs, sensors, and cameras to your Raspberry Pi Zero using the GPIO pins or Wi-Fi. You can also add voice control to your smart home by using a virtual assistant like Amazon Alexa or Google Home.
Step 5: Control Your Smart Home
Finally, you can use your smartphone or tablet to control your smart home. You can also automate your smart home using triggers and conditions. For example, you can turn on your smart lights when you come home from work or turn off your smart plugs when you go to bed.
Conclusion
Raspberry Pi Zero is a great tool for building a smart home. It is affordable, powerful, and easy to use. By following the steps outlined in this article, you can create a smart home that is efficient, secure, and comfortable. So, what are you waiting for? Start building your smart home today!
Posted on: Nov 10, 2022 Last updated at: May 4, 2023